

December 19, 2023
Refrigerator Repair
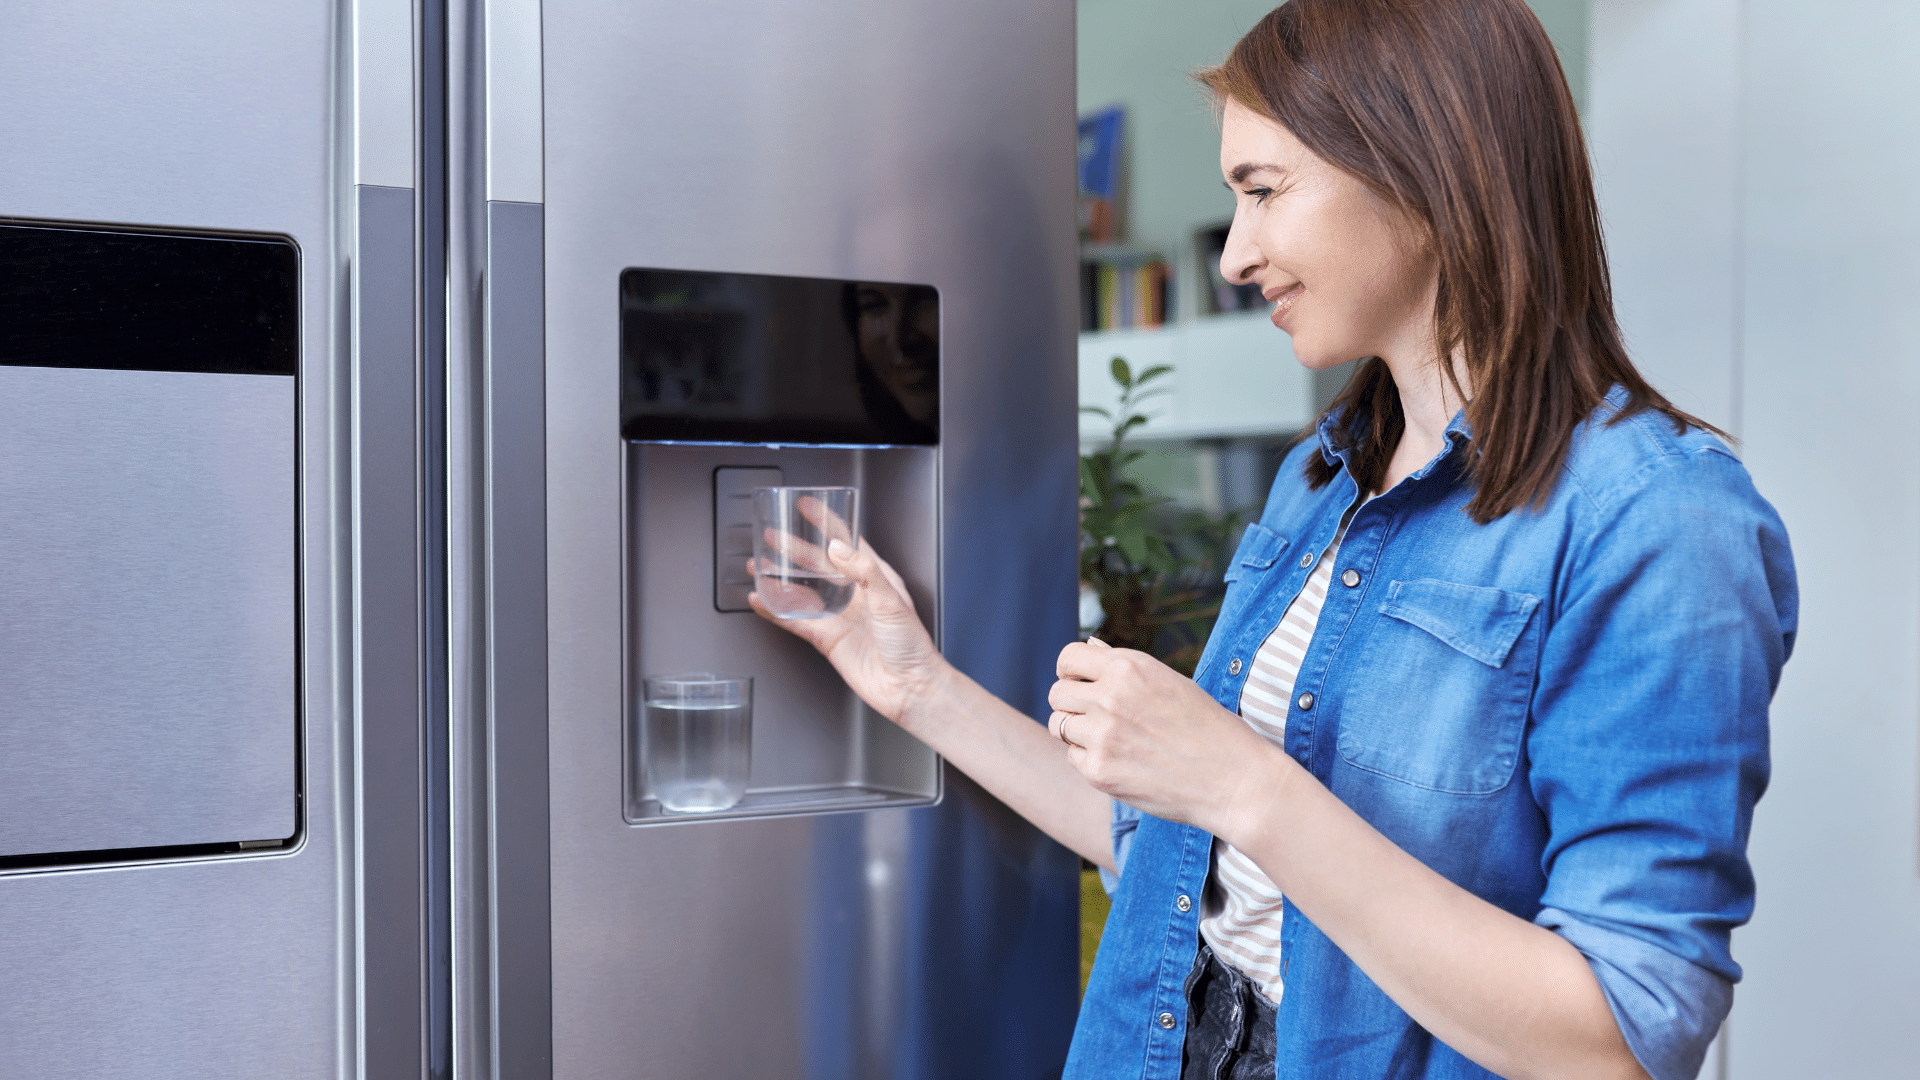
If you have a refrigerator with a built-in water dispenser or ice maker, it’s important to regularly replace the water filter to ensure clean and refreshing water. A water filter plays a vital role in removing impurities, such as sediment, chlorine, and contaminants, that can affect the taste and quality of your drinking water. In this article, we will provide you with a comprehensive step-by-step guide on how to replace a water filter in your fridge.
Step 1: Determine the Correct Water Filter
Before replacing your fridge’s water filter, it’s essential to identify the correct replacement filter. Consult your refrigerator’s user manual or visit the manufacturer’s website to find the exact model number or part number of the compatible water filter. Additionally, you can usually find this information printed on the existing filter itself.
Step 2: Turn Off the Water Supply
To avoid any water leakage or accidents, locate the water supply valve connected to your refrigerator and turn it off. Typically, you’ll find the valve near the water source or behind the fridge. Shutting off the water supply will prevent any water flow during the filter replacement process.
Step 3: Locate the Filter
Next, locate the filter housing in your refrigerator. The filter is usually located inside the refrigerator, either in the grille at the base or within the refrigerator compartment itself. Consult your refrigerator’s user manual if you’re unsure about the exact location.
Step 4: Remove the Old Filter
Once you’ve located the filter housing, carefully remove the old water filter. Some refrigerator models have filters that twist off, while others may have push-button releases or sliding mechanisms. Follow the specific instructions provided in your refrigerator’s user manual to remove the filter correctly.
Step 5: Prepare the New Filter
Unpack the new water filter from its packaging. Remove any protective caps or seals, if present, from the filter. It’s advisable to rinse the new filter with cold water for a few seconds to flush out any loose carbon particles and activate the filter media.
Step 6: Install the New Filter
Align the new filter properly with the filter housing. Depending on your refrigerator model, you may need to twist the filter clockwise until it locks into place or push it firmly until you hear a click. Refer to your refrigerator’s user manual for the specific installation instructions. Ensure the filter is securely installed to prevent any water leakage.
Step 7: Reset the Filter Indicator (if applicable)
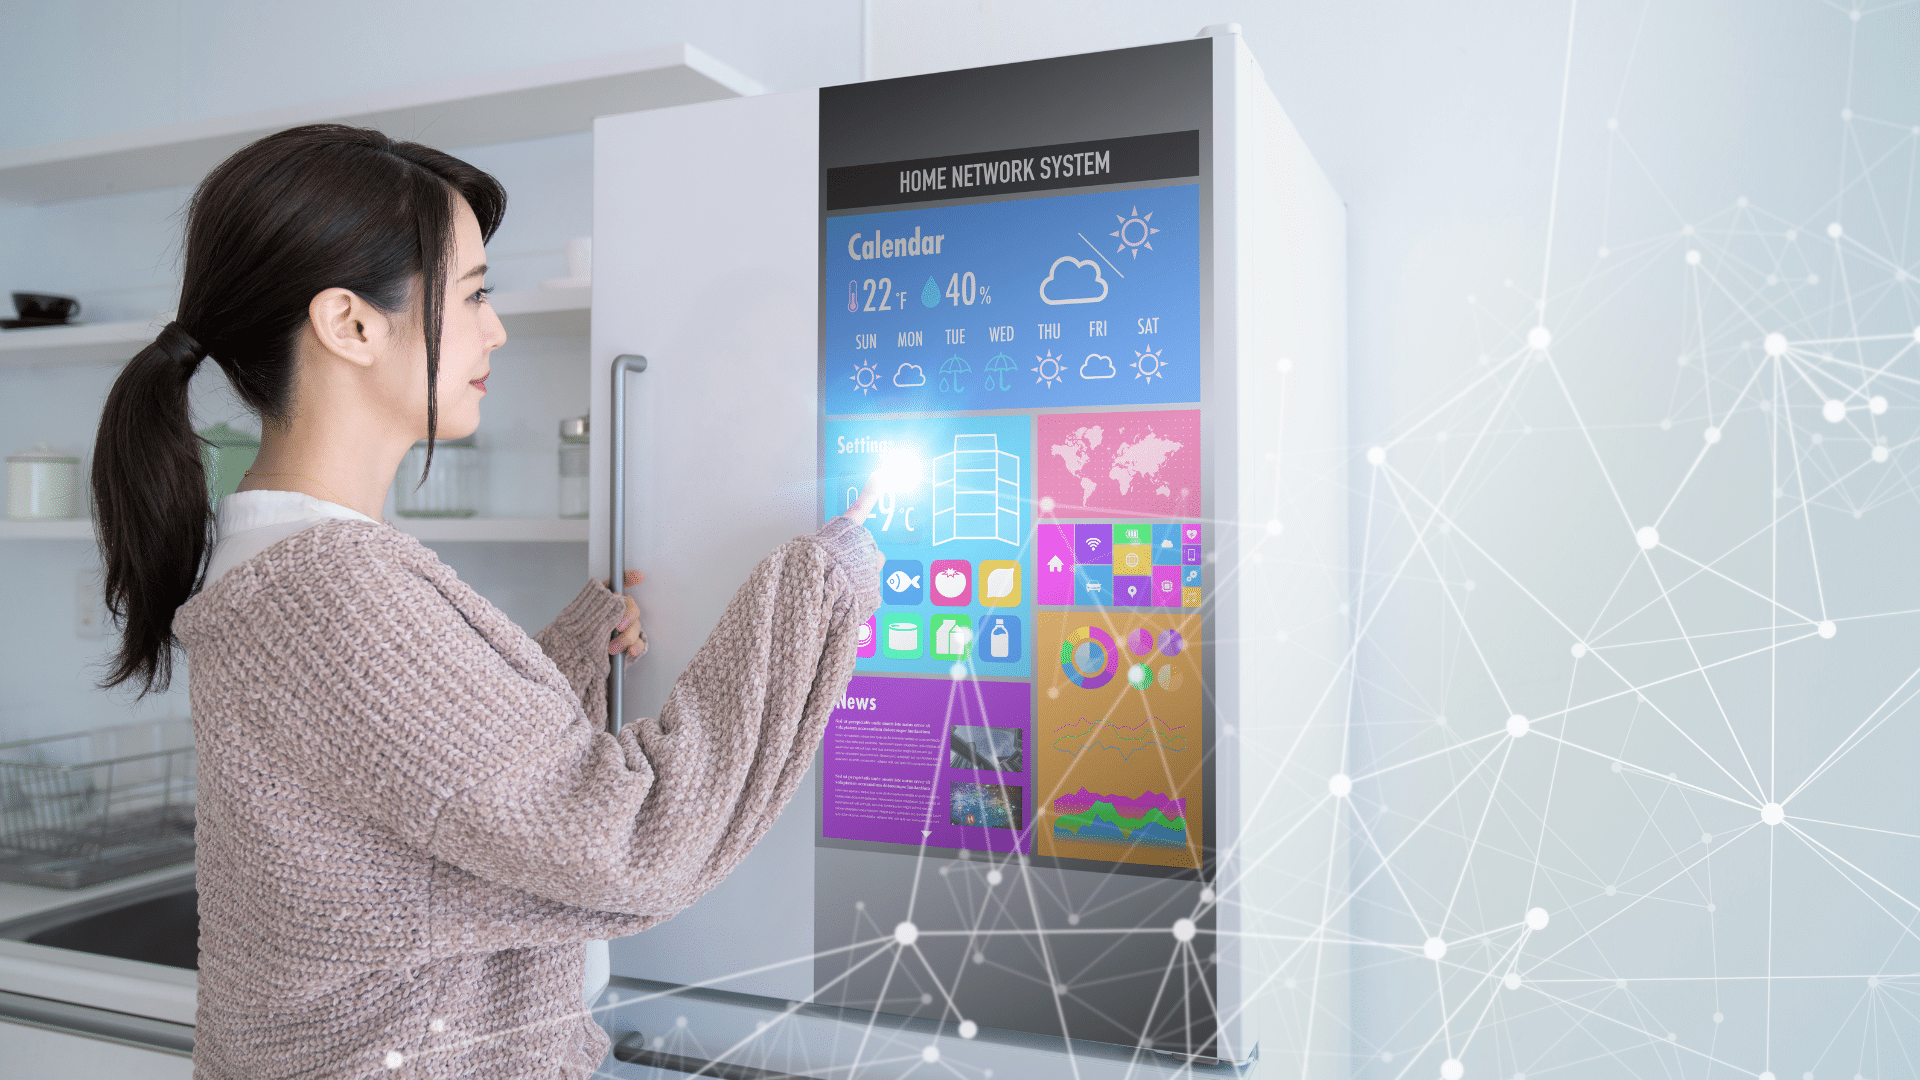
Many modern refrigerators have filter indicator lights or digital displays that notify you when it’s time to replace the filter. After installing the new filter, reset the filter indicator to ensure accurate monitoring of the filter’s lifespan. Follow the instructions provided in your refrigerator’s user manual to reset the filter indicator accordingly.
Step 8: Turn On the Water Supply
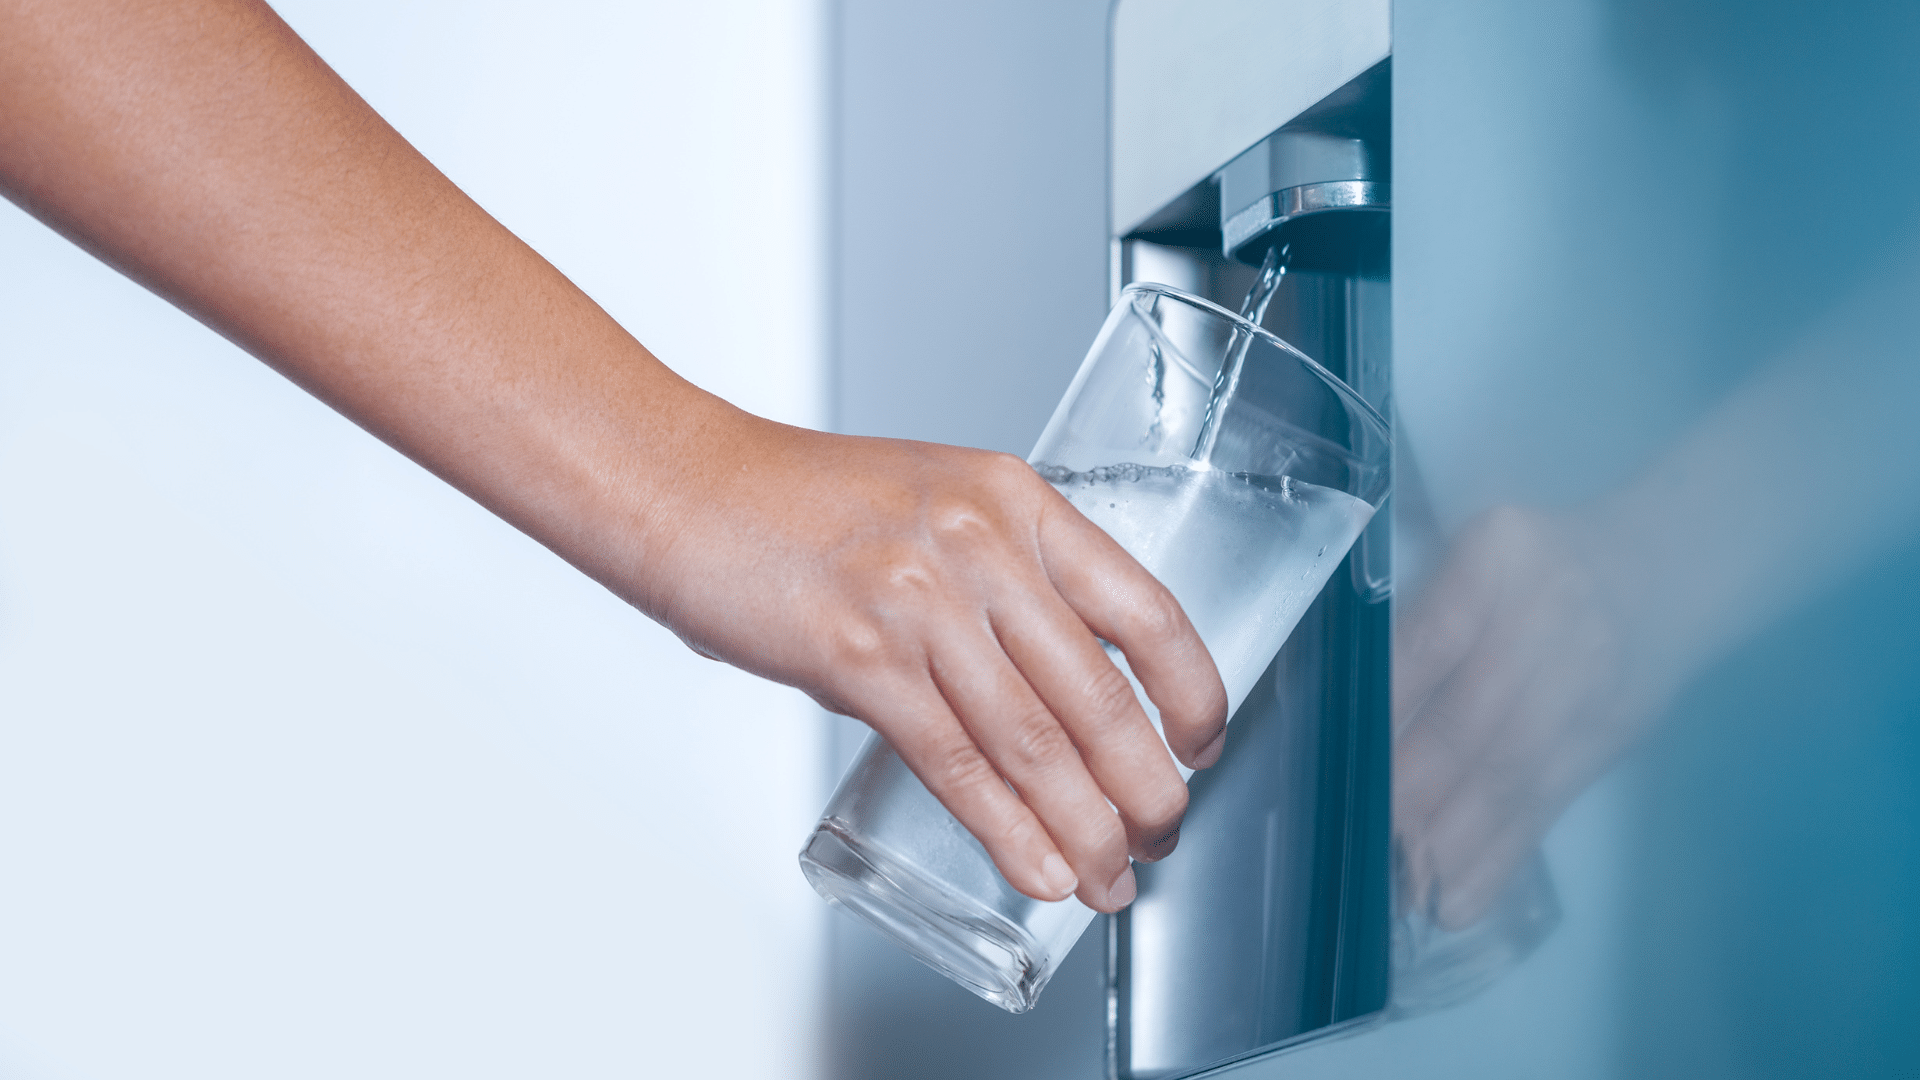
Once the new filter is installed and the filter indicator is reset, it’s time to turn on the water supply. Locate the water supply valve connected to your refrigerator and turn it back on. Slowly open the valve to allow the water to flow into the filter and purge any air pockets. Keep an eye out for any leaks during this process.
Conclusion:
Regularly replacing the water filter in your refrigerator is crucial for maintaining clean and healthy drinking water. By following this step-by-step guide, you can easily replace the water filter in your fridge and enjoy refreshing water free from impurities. Remember to consult your refrigerator’s user manual for specific instructions related to your model and always prioritize safety when working with water and appliances.

Mar. 25, 2024
Elevate Your Kitchen: A Guide to Choosing Aesthetically Pleasing Appliances

Mar. 20, 2024
Reviving Old Appliances: Upcycling for a Sustainable Future
Mar. 11, 2024
To Repair or Replace? Making the Right Decision for Your Appliances

Mar. 05, 2024
5 Best Breakfast Spots in Reno 2024

Feb. 26, 2024
Understanding the Inner Workings of a Refrigerator: A Cooling Marvel

Feb. 19, 2024
Unveiling the Most Commonly Reported Issues with Household Appliances
Feb. 13, 2024
Unveiling the Mystery: Why Water Might Taste Weird Coming Out of Your Fridge Water Dispenser
Feb. 02, 2024
Revolutionizing Appliance Repairs: The Impact of Technological Advancements

Jan. 29, 2024
Appliance Recalls: Safeguarding Your Home with Essential Know-How
Jan. 24, 2024